Evaluating Bicycle Icons for Modern Web Design: A Practical Guide to Vector Assets
In the rapidly evolving landscape of web design, the choice of graphical assets can significantly influence both user experience and site performance. Among the myriad of resources available, Bicycle Icons have emerged as a specific yet versatile category for designers working on fitness, transportation, eco-friendly, and lifestyle projects. When evaluating digital assets, it is crucial to look beyond the surface aesthetic and understand the technical specifications that determine usability. This article explores the distinct features of high-resolution bicycle icon sets, specifically those delivered in ZIP archives containing vector and raster formats, to help you make an informed decision about your design toolkit.
Understanding the Technical Composition
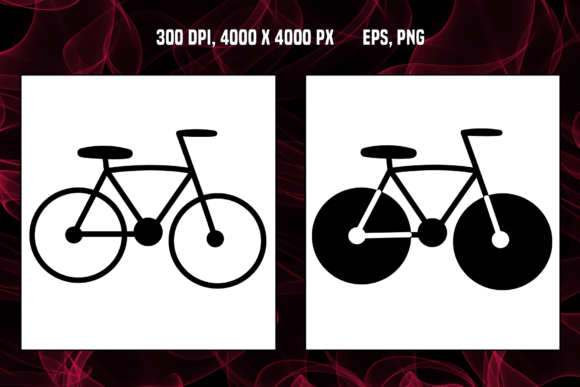
The value of any design resource lies in its flexibility and quality. A typical premium package labeled as Bicycle Icons often includes a curated selection of vector design elements. In this context, we are examining a specific configuration: a ZIP file containing two primary vector design elements, accompanied by transparent image files in EPS and PNG formats. The resolution is specified at 300 DPI (dots per inch), with dimensions reaching 4000 x 4000 pixels.
Why do these specifications matter? For web designers, the inclusion of EPS (Encapsulated PostScript) files is critical. EPS is a vector format, meaning the image is defined by mathematical paths rather than pixels. This allows the icon to be scaled infinitely without losing clarity. Whether you need a tiny favicon or a massive hero image for a landing page, the vector source ensures crisp edges. Conversely, the PNG (Portable Network Graphics) files provide immediate usability. With transparency support and a high resolution of 300 DPI, these raster images are ready for drag-and-drop implementation in content management systems or rapid prototyping tools where vector editing software is not available.
Comparing Vector vs. Raster Workflows
When deciding whether a resource like Bicycle Icons fits your workflow, it is helpful to compare how vector and raster formats serve different stages of the design process. Many designers prefer starting with vectors because they offer complete control over color palettes, stroke weights, and shapes. If your brand guidelines require a specific shade of teal or a thicker line weight for accessibility reasons, the EPS file allows for easy modification in software like Adobe Illustrator or Affinity Designer.
On the other hand, the provided PNGs cater to efficiency. For developers or designers who need to implement icons quickly without opening complex graphic editors, having pre-rendered, high-resolution transparent images is a significant time-saver. The 4000 x 4000 pixel dimension ensures that even if the image is compressed for web use, the source quality remains high enough to prevent artifacting. This dual-format approach bridges the gap between creative customization and practical deployment.
Assessing Suitability for Web Design
While the term "icons" suggests small graphical elements, the high resolution of 300 DPI and large pixel dimensions indicate that these assets are versatile. They are not limited to small navigation buttons. Here are several scenarios where such assets prove valuable:
- Landing Pages: Use the vector elements to create custom illustrations for cycling tours, bike rental services, or fitness apps.
- Blog Headers: The high-resolution PNGs can serve as featured images for articles related to urban commuting or health.
- Print Materials: Although primarily for web design, the 300 DPI resolution makes these files suitable for flyers, business cards, or brochures if your project spans both digital and physical media.
- Social Media Graphics: Transparent backgrounds allow for seamless integration into Instagram stories or Facebook posts without awkward white boxes around the icon.
However, it is important to recognize limitations. If you require a comprehensive library of hundreds of varied icons, a set containing only two design elements may feel restrictive. This type of resource is best suited for projects needing a specific, high-quality focal point rather than a broad iconography system for an entire application interface.
Tradeoffs and Decision Factors
Choosing the right design asset involves weighing tradeoffs. One major consideration is file size versus quality. High-resolution PNGs at 4000 x 4000 pixels can be large in file size. For web performance, you will likely need to compress these images or convert them to modern formats like WebP before uploading them to your server. The EPS files, being vectors, are generally smaller and more efficient for storage but require specific software to view and edit.
Another factor is customization effort. While the EPS files offer flexibility, they require design skills to modify. If your team lacks vector editing expertise, you may find yourself relying solely on the PNGs, which limits your ability to change colors or shapes dynamically. In such cases, you might consider alternative resources that offer SVG (Scalable Vector Graphics) code, which can be styled directly with CSS. However, SVGs do not always support the complex gradients or effects that a detailed EPS vector might contain.
When to Choose This Resource
Bicycle Icons in this specific format are an excellent choice when:
- You need high-fidelity graphics for a niche project focused on cycling or active lifestyles.
- Your workflow involves both design (needing vectors) and development (needing ready-to-use images).
- You require transparent backgrounds to layer icons over various colored sections of a website.
- You want to avoid subscription-based icon libraries and prefer a one-time download of specific assets.
Conversely, you might need to look for alternatives if:
- You require a vast library of diverse icons for a complex user interface.
- You need icons that are easily customizable via code (CSS/JavaScript) without graphic design software.
- Your project demands animated icons or interactive states, which static EPS/PNG files cannot provide.
Best Practices for Implementation
To maximize the value of these assets, consider adopting a few best practices. First, always keep the original EPS files archived. Even if you only use the PNGs initially, having the vector source allows for future updates or repurposing. Second, when using the PNGs on the web, ensure you resize them to the actual display dimensions. Serving a 4000-pixel wide image for a 50-pixel icon slot wastes bandwidth and slows down page load times. Use responsive image techniques to serve appropriate sizes based on the user's device.
Additionally, pay attention to accessibility. If the bicycle icon conveys meaningful information, ensure it has appropriate alt text. If it is purely decorative, hide it from screen readers. The transparency of the PNG files helps with visual integration, but semantic HTML ensures inclusivity.
Final Thoughts on Asset Selection
In the broader ecosystem of web design resources, Bicycle Icons represent a specialized tool rather than a universal solution. Their strength lies in the combination of vector scalability and raster convenience. By offering both EPS and high-resolution PNG formats, this package caters to a hybrid workflow that values both creative control and implementation speed.
Ultimately, the decision to use these icons should align with your project's specific needs. If you are building a targeted campaign, a niche blog, or a specialized service page where visual quality and thematic relevance are paramount, these assets provide a solid foundation. However, for large-scale applications requiring dynamic styling or extensive icon sets, you may need to supplement this resource with other tools. By understanding the technical details and practical applications, you can integrate these design elements effectively, enhancing your web projects with precision and professionalism.